
How to Photograph Jewellery for Online Selling
Start With Daylight, Not Flash
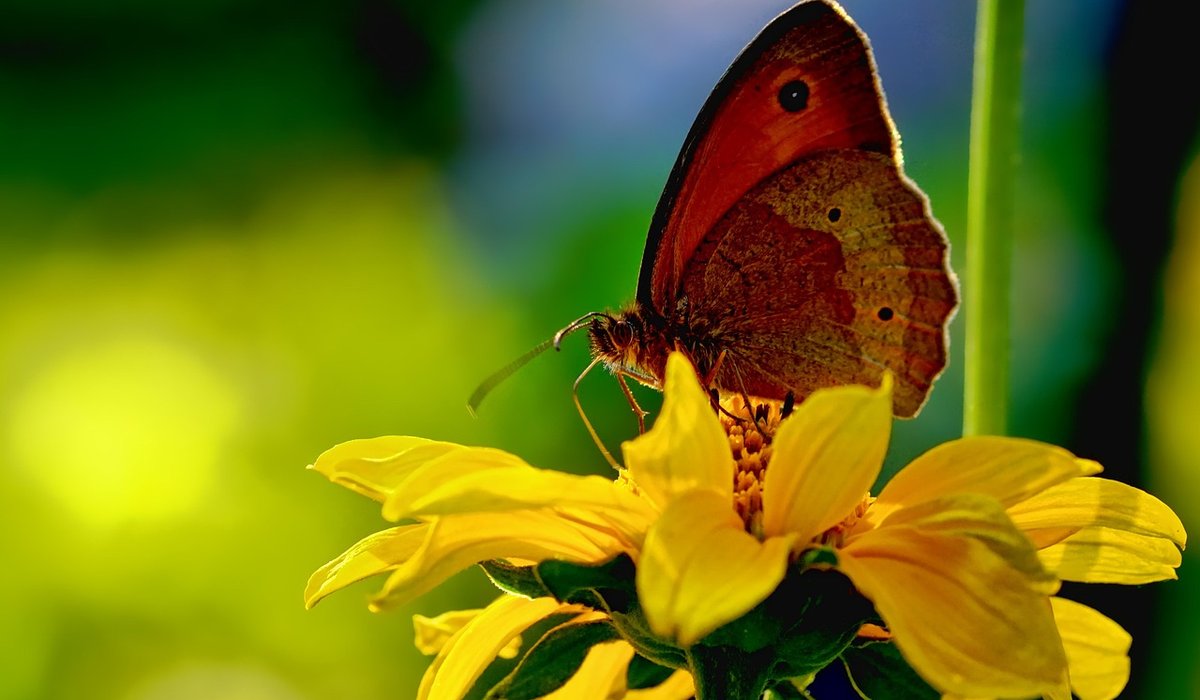
Gemstones are shy creatures under artificial light. A pink tourmaline can turn muddy, a moonstone loses its adularescence entirely, and sterling silver takes on a flat, grey cast. The single biggest upgrade you can make to your product photography is to shoot in natural daylight, ideally within two hours of sunrise or two hours before sunset, when the light is soft and diffused. A north-facing windowsill is a genuine gift in the UK — it offers even, shadowless illumination for most of the day.
Avoid direct sun, which throws harsh hotspots across polished metal and blows out pale stones such as opal, aquamarine and white topaz. If you must work in the evening, use a daylight-balanced bulb rated around 5000–5500K and place a sheet of white tracing paper between the lamp and the piece to soften the beam. Never rely on your phone's built-in flash: it flattens facets, creates a hard catchlight and makes fine metalwork look cheap.
Choose Backgrounds That Flatter, Not Distract
Your background should support the gemstone, never compete with it. Simple, matte surfaces work best, and a curved sweep — a sheet of A3 card gently curved from base to back — removes the horizon line and gives you a clean, professional finish.
- Soft white or pale grey for most coloured gemstones; it keeps colours true and reads as calm and premium.
- Charcoal or black for high-contrast pieces, diamonds and deep sapphires, where a dark ground makes sparkle sing.
- Natural linen or raw cotton for crystals and earthy, mindful collections — but check that the fabric does not cast colour onto the metal.
- Pale oak or slate as a base for tumble stones, raw crystals and amulets, giving a grounding, organic feel.
Keep the same background family across your whole shop. A consistent palette makes your grid look curated rather than chaotic, and it helps buyers focus on the jewellery itself.
Build a Set of Consistent Angles
Buyers cannot turn a piece over in their hands, so your images must do that work for them. Decide on a fixed shot list and repeat it for every listing. This consistency builds trust and dramatically reduces returns.
- A straight-on front view, with the camera level and the piece centred.
- A 45-degree angle that shows the depth of the setting and the profile of the stone.
- A close macro of the gemstone itself, so the buyer can see inclusions, cut and colour zoning.
- A side or back view showing the clasp, hallmark or setting detail.
- A photograph of the piece being worn, on a hand, wrist or neck, to convey scale and drape.
Keep the camera at the same height and distance for each shot. Mount your phone or camera on a tripod, or stack a few books to a fixed height and mark the spot with tape. Small habits like these make a big difference when you are photographing a whole collection in one session.
Show Scale and Metal Finish Honestly
Scale is the most common reason for a jewellery return. A pendant photographed in isolation could be a centimetre across or five. Always include a familiar reference point: a 20p coin, a small ruler, or a hand. State the exact dimensions in millimetres in your listing text as well — buyers rely on both.
Metal finish also needs honest representation. Polished silver reflects whatever surrounds it, so place white card on one side and black card on the other to create gradient reflections that reveal form. Brushed and matte finishes need angled light to show their texture, while gold vermeil and rose gold are best photographed slightly warm to remain flattering without turning orange. If a piece has a patina or an antique finish, photograph it as it truly is.
Style Mindfully, Edit Lightly
Mindful styling means restraint. Select two or three props at most — a sprig of dried eucalyptus, a smooth pebble, a folded length of natural ribbon — and place them so they frame the piece rather than cover it. Let colour do the talking: rose quartz against blush linen, amethyst against soft grey, citrine against warm cream. The gemstone should always be the hero.
When editing, do as little as possible. Crop to a square or 4:5 ratio, correct your white balance, lift the shadows a fraction and sharpen once. Never boost the saturation of a gemstone to make it look more vivid; that is a misrepresentation, and buyers will notice the difference when the parcel arrives.
Save your final files as sRGB JPEGs, roughly 1500–2000 pixels on the long edge and under 2MB, so they load quickly. Finally, look at your entire shop grid on a phone, as most buyers browse on mobile. If the images sit together calmly and every stone glows in daylight, you have done your job well.


Learn temporary measures and warning signs that mean a ring or pendant should be seen by a qualified repairer.
Explore how brushed, satin, and darkened finishes change the look of silver jewellery and suit different personal styles.
Plan a relaxed gathering where guests trade duplicate stones, share display ideas, and learn about new crystals together.
Consider lining, compartments, drawer depth, and lock options to protect your rings, chains, and delicate gemstone pieces securely.